¶ Getting Started
This guide will walk you through the basics of creating your first chart for Etterna using ArrowVortex.
From now the guide will continue assuming you have downloaded ArrowVortex and are ready to begin. If this guide does not cover everything to your liking in terms of understanding how ArrowVortex works, please refer to this Basic Guide on the official ArrowVortex website.
¶ Using ArrowVortex
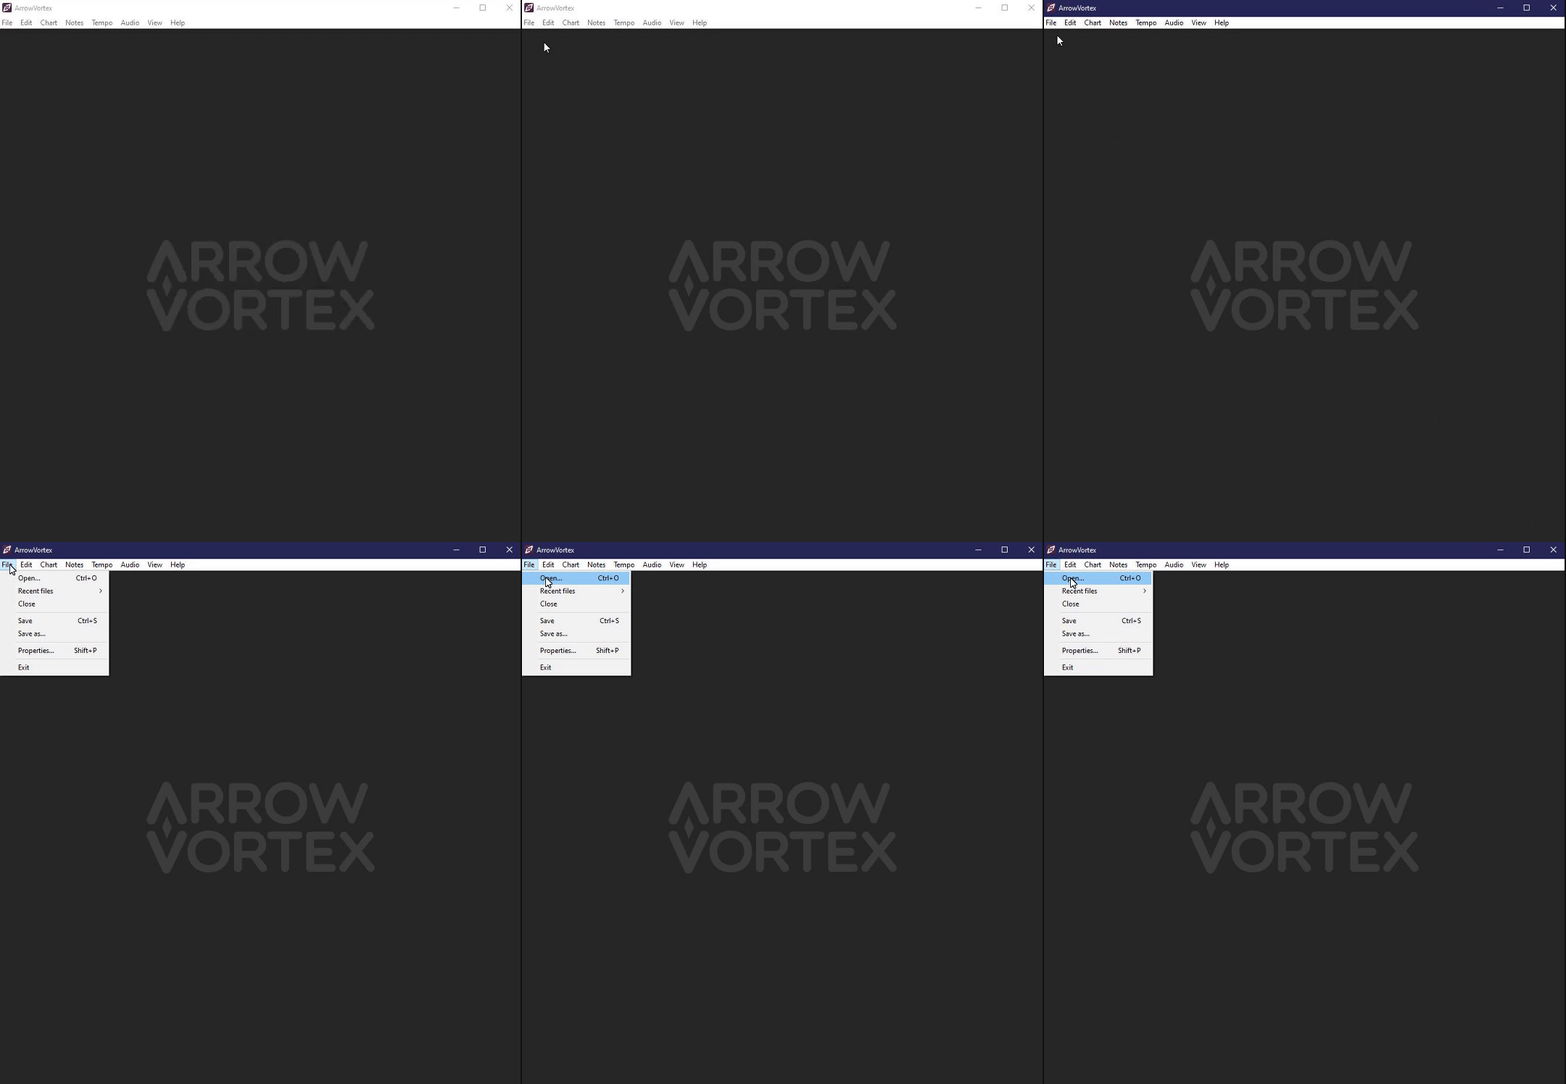
Begin by opening an MP3, OGG or WAV file to load in to the Editor. Once you hit “Open” you will be prompted to select a song that you have locally downloaded.

For this tutorial, I'll be using the song “Bummin on Tremelo” (120 bpm) from Incompetech but feel free to use whatever song you'd like. (Download is available on the website for free).
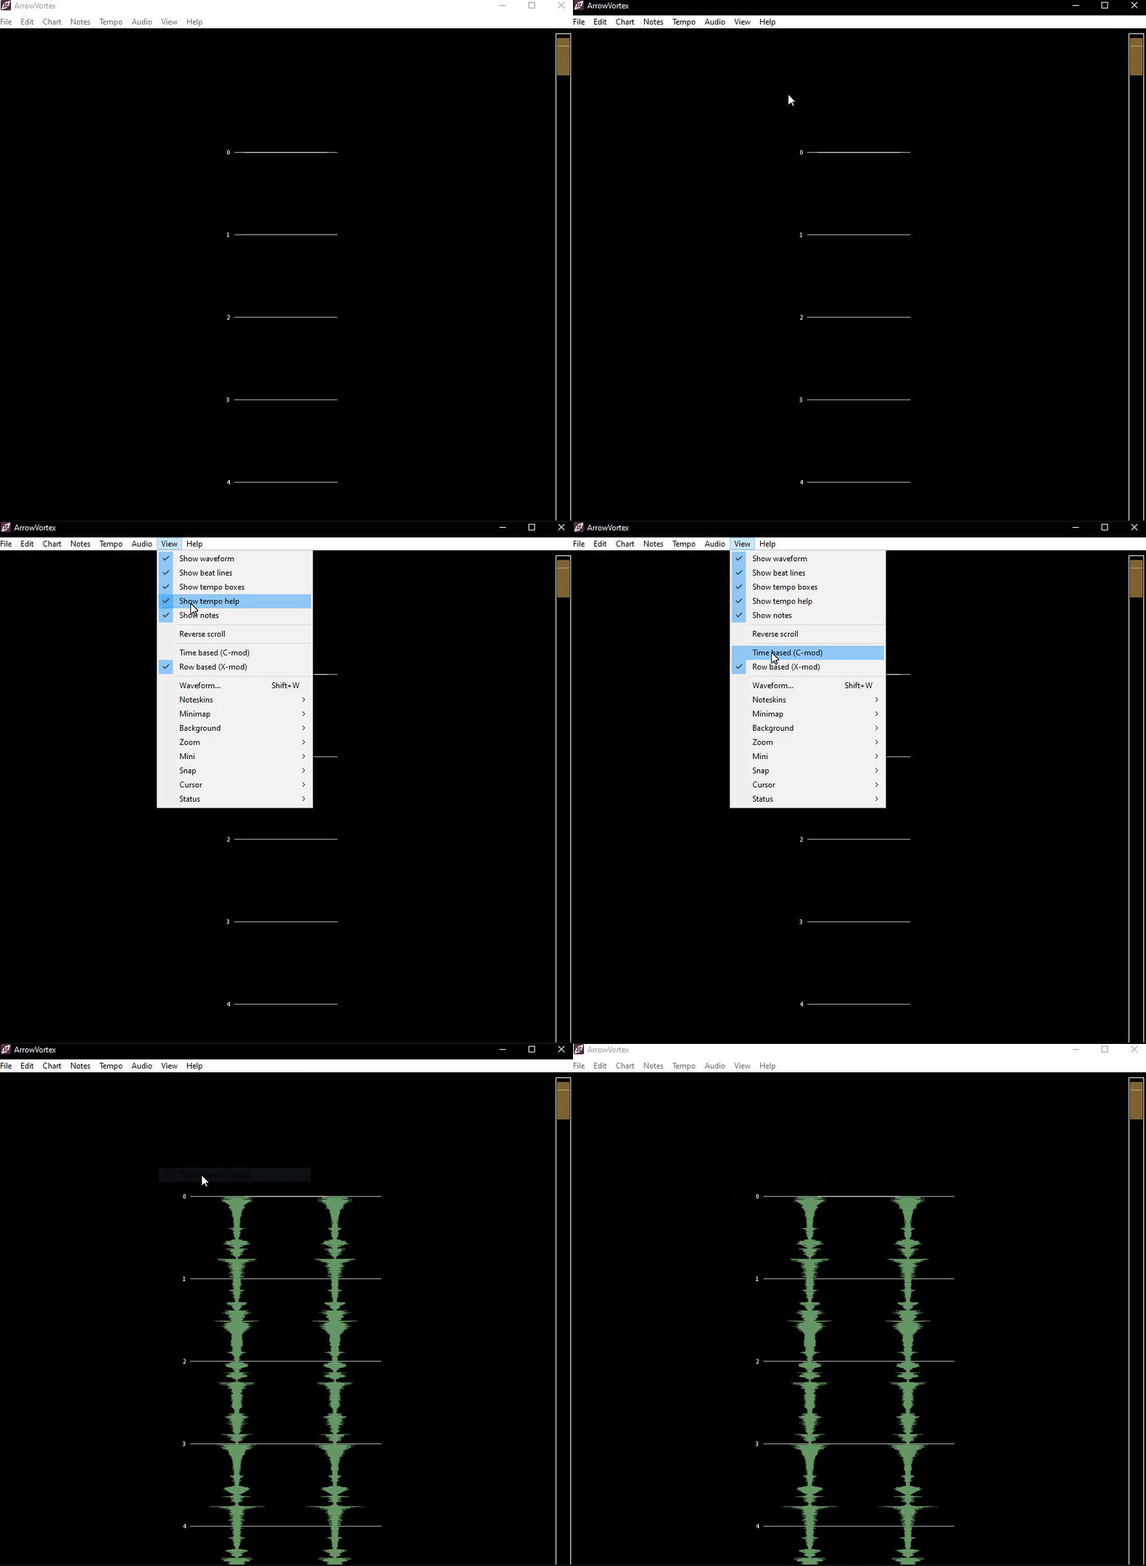
Start by changing the View to “Time based (C-mod)” so you can see the Waveform. The Waveform is what you will typically use to accurately verify the timing of the song by matching peaks (larger points) to the measure lines. It is highly unrecommended to ever use "Row based (X-mod)" timing for that sole reason.

By default, opening a song in ArrowVortex will set the BPM for the song to 120. This is convenient for us because the song I've chosen is exactly 120 BPM so there won't be any BPM changes necessary granted you're using the same song as this tutorial.
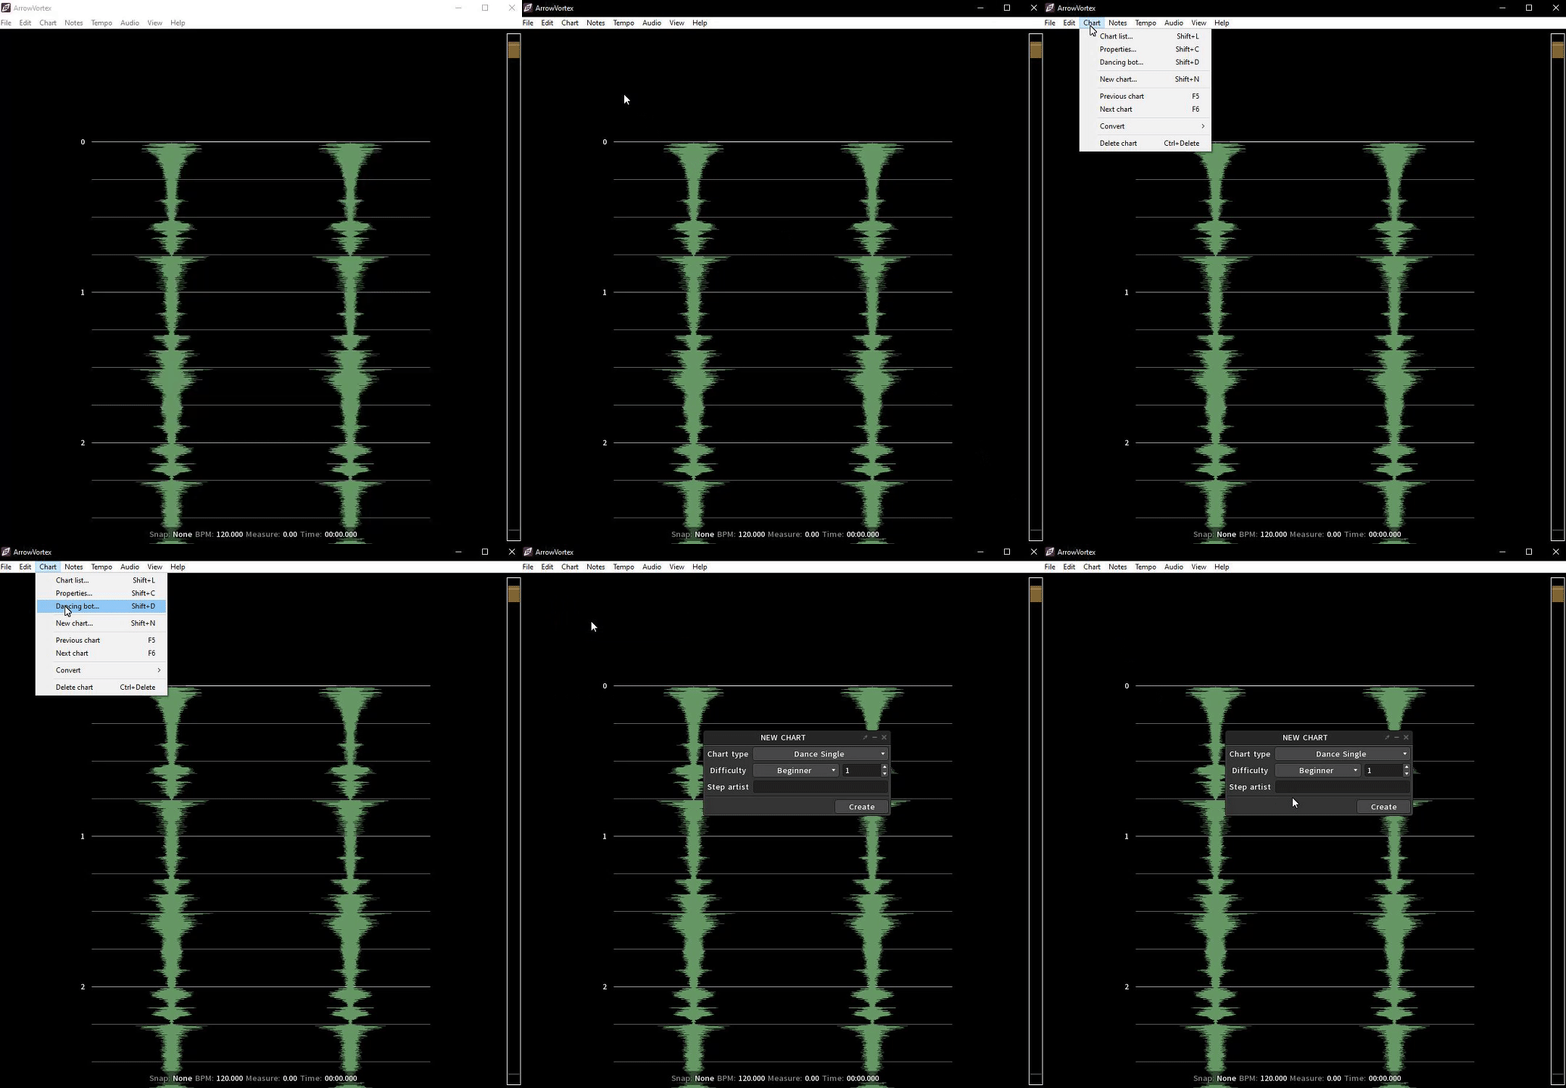
Next, you'll want to go ahead and create a new Chart. This can be done by using the default hotkey (Shift+N) or by following the gif below.

Don't worry about the fields for now, just hit Create. Once you've done that, you should see the 4 arrows (Receptors) pop up at the top of your screen.
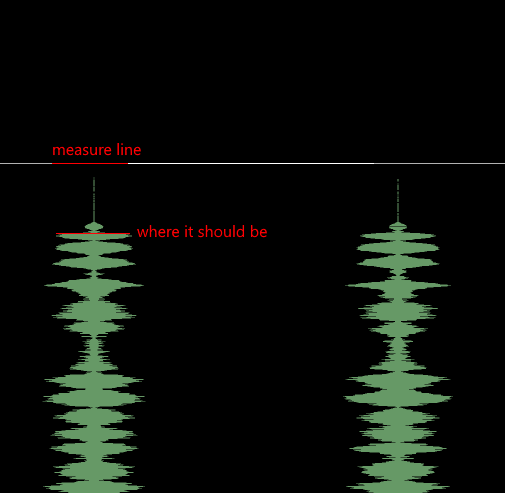
If we zoom in (by using Ctrl+Scroll Up/Ctrl+Scroll Down or navigating to View → Zoom → Zoom In/Out) we can see that the first measure line does not exactly line up with the peak of the waveform here, which likely means it is not synced correctly. See the image below.

So we're going to need to adjust the Music Offset to make sure the measures line up with the peaks in the waveform as previously mentioned. See the gif below on how to do that using the Adjust Sync (Shift+S or Tempo > Adjust Sync) menu. This may vary between songs but generally this is the way to do it. Not all songs will have a constant tempo as well, which I'll cover in the future on how to create new BPM Changes to accommodate that.

Great! Now that our song is synced, we can begin to place some notes, save the file and load it up ingame.